
Key Highlights
- Learn why a thermocouple replacement is crucial for ensuring a safe and efficient gas supply to your cooktop.
- Discover the signs indicating a faulty thermocouple that necessitate immediate replacement to avoid appliance malfunctions.
- Get equipped with the necessary tools and safety precautions for a successful DIY thermocouple replacement process.
- Follow a step-by-step guide on removing the old thermocouple and installing a new one correctly for optimal performance.
- Test and troubleshoot your new thermocouple installation to guarantee its proper functioning and your satisfaction with the replacement process.
Introduction
A thermocouple is very important for your Wolf cooktop to work well. This part makes sure that the gas supply stops if the flame on the burner goes out. This helps avoid potential dangers. If a thermocouple is faulty, it can cause problems with heating your appliance. Knowing how to replace this part is key to keeping your cooktop safe and efficient. Let’s look at the steps in replacing a cooktop thermocouple.
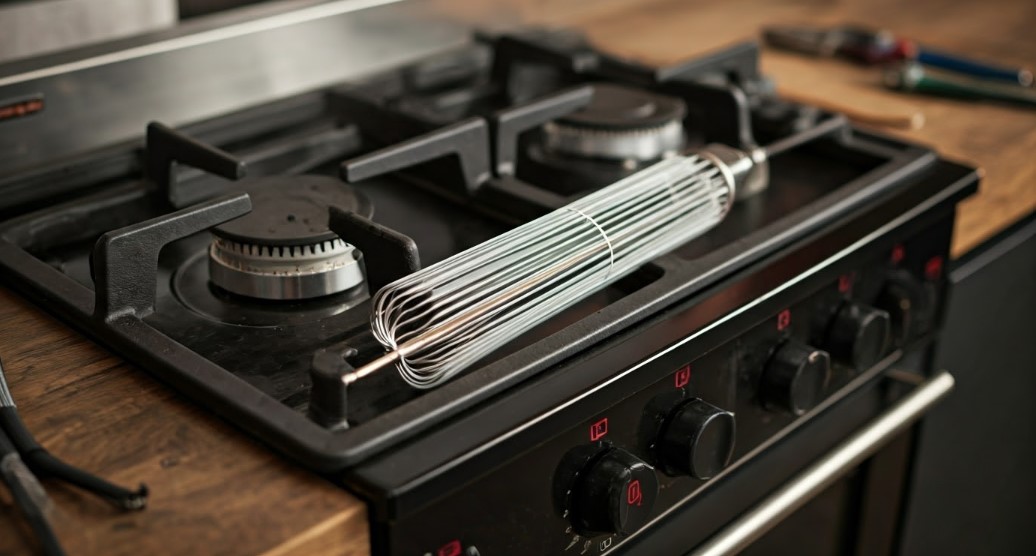
What Is a Thermocouple and Why It’s Important
A thermocouple is an important safety device used in gas appliances. Its job is to check if the pilot light is on and to control the gas supply. This helps stop gas leaks from happening. If the thermocouple is not working, the gas supply to the burner is turned off. This keeps potentially dangerous situations from happening. This small part is key to your cooktop working safely and well.
Signs That Your Thermocouple May Need Replacement
A broken thermocouple can cause problems with your cooktop’s heating. Watch for pilot lights that go out often, burners that heat unevenly, or burner flames that are yellow instead of blue. Yellow flames show a bad gas supply. These signs mean there could be an issue with the thermocouple. This can affect how well the appliance works and its safety. By regularly checking for these signs, you can quickly fix any issues and keep your cooktop working well.
Preparing to Replace Your Cooktop’s Thermocouple
Before you start replacing, gather what you need and ensuring your safety comes first. Taking these steps will help you replace the thermocouple successfully.
Tools and Materials Needed for the Job
- A screwdriver, adjustable wrench, and a new thermocouple are very important.
- Make sure they work with your cooktop model before buying them.
- Safety goggles and gloves are needed to protect you from accidents.
- A multimeter can help you fix electrical problems during installation.
Safety Precautions Before Starting the Replacement Process
Safety is very important when you replace a cooktop thermocouple. Before you start, make sure you have the right tools, like a wrench and gloves. Always turn off the gas supply first to avoid any dangers. Let the cooktop cool down fully before you begin working to prevent burns. Always check the appliance manual for safety instructions that are specific to your model.
Step-by-Step Guide to Replacing the Thermocouple

To replace a thermocouple, first turn off the gas supply. Step 1 is to find the old thermocouple connected to the burner and take it out carefully. Next, take the new thermocouple and put it in the same spot as the old one, making sure it fits tightly. Check the connections again. Once everything looks good, turn the gas supply back on to test the new thermocouple. Finally, watch the heating of the appliance to make sure the replacement works well.
Step 1: Removing the Old Thermocouple
To start, first turn off the gas supply to your cooktop. Next, take a wrench and disconnect the thermocouple from the gas line. After that, find the thermocouple where it connects to the burner assembly. Unscrew the nut holding the thermocouple in place. Carefully remove the thermocouple, being careful not to damage any nearby parts. Safely discard the old thermocouple and move on to the next step in replacing it.
Step 2: Installing the New Thermocouple
- Make sure you have a crescent wrench and screwdriver for precision.
- Start by finding the burner where the old thermocouple was attached.
- Carefully remove the old thermocouple and throw it away.
- Take the new thermocouple and put it in the same spot as the old one.
- Make sure it is tight so there is no gas leakage while using the appliance.
- Test the connection by gently wiggling the thermocouple to check its stability before finishing up.
Testing Your New Thermocouple Installation
Once you install the new thermocouple, it is important to test it. First, light the burner and see if the flame stays steady. A good thermocouple will keep the gas supply on, making sure the burner stays lit. Check everything carefully to ensure that the heating appliance works safely and efficiently with the new thermocouple.
How to Test for Proper Installation
To install your new thermocouple, first, light the burner and look at the flame. The flame should be blue and steady. This shows that the thermocouple is working well. After that, shut off the gas supply. Check to see if the flame goes out right away. This confirms that the safety cutoff feature is operating. If the flame stays on when you turn off the gas, you might have a faulty thermocouple. Testing the new thermocouple is important to make sure your appliance runs safely and efficiently.
Troubleshooting Common Issues After Installation
If you have problems after installing the new thermocouple, check that all connections are tight and in the right place. Look for any issues with the gas supply that might affect how the thermocouple works. Make sure the burner flames are steady and the heating is consistent. You might need to recalibrate the appliance if things seem off. Watch for any error codes or strange behavior that could mean a faulty thermocouple or bad installation. If the problems keep happening, ask a professional like Wolf Appliance Repair Expert for help.
Conclusion
In conclusion, replacing a cooktop thermocouple is an easy job. It can really help your appliance work better. When you know why this part is important and can spot a faulty thermocouple, you will ensure good heating and a safe gas supply. By using a step-by-step guide for installing and testing the new thermocouple, you can make sure it works correctly. Don’t forget, keeping your thermocouple in good shape is key for the burner and for your kitchen appliance to run well. For more DIY tips, check out our blog on fixing Wolf Gas Cooktop Won’t Stay Lit.
Frequently Asked Questions
Can I replace a thermocouple by myself?
Replacing a thermocouple on your own is possible if you have the right tools and take the necessary precautions. Check out our step-by-step guide in the blog to make sure you can do it safely and successfully. Always remember that safety comes first!
How do I know if my thermocouple is bad?
To check if your thermocouple is bad, look for problems with the gas supply or the pilot light. You might see signs like the pilot light going out or the burner not lighting up. You can use a multimeter to test for continuity. This can help you know if you need to replace it.
How often should I check or replace my cooktop’s thermocouple?
It is a good idea to check or change your cooktop’s thermocouple every 1 to 2 years. This helps make sure it works well. How often you need to do this can depend on how much you use it and how old the appliance is. Regular checks are important. They can help stop problems and keep things running smoothly.